1 How to Check Windows 10 Reserved Storage Size via Settings2 How to Check Reserved Storage Size in Windows 10 via Command Prompt3 How to Check and Enable / Disable Windows 10 Reserved Storage via CMD4 How to Check Windows 10 Reserved Storage State via PowerShell5 Enable or Disable Windows 10 Reserved Storage via Registry Hack
What is reserved storage and how does it work? Windows 10 needs some space to be able to function correctly. Though it can do a lot with a small amount, being close to your storage limit is likely to impede performance and result in failed updates which could contain vital fixes or security mitigations. Reserved storage is a relatively new feature introduced to Windows to combat that scenario. When reserves storage is enabled, Microsoft essentially lies to the user about the free space that’s available on the PC. Temporary and update files are stored in a hidden reserved storage section of the hard drive and don’t affect the available space you see in File Explorer. As a result, those who want to free up space in Windows 10 or are looking for a more accurate picture may be wondering how to disable system reserved storage on Windows 10. Those who keep running into the “This computer does not have enough space for temporary files”, or “Your disk is almost full” errors may want to enable it. We’re going to show you how to do both today, as well as how to check your reserved storage size so you can make that decision.
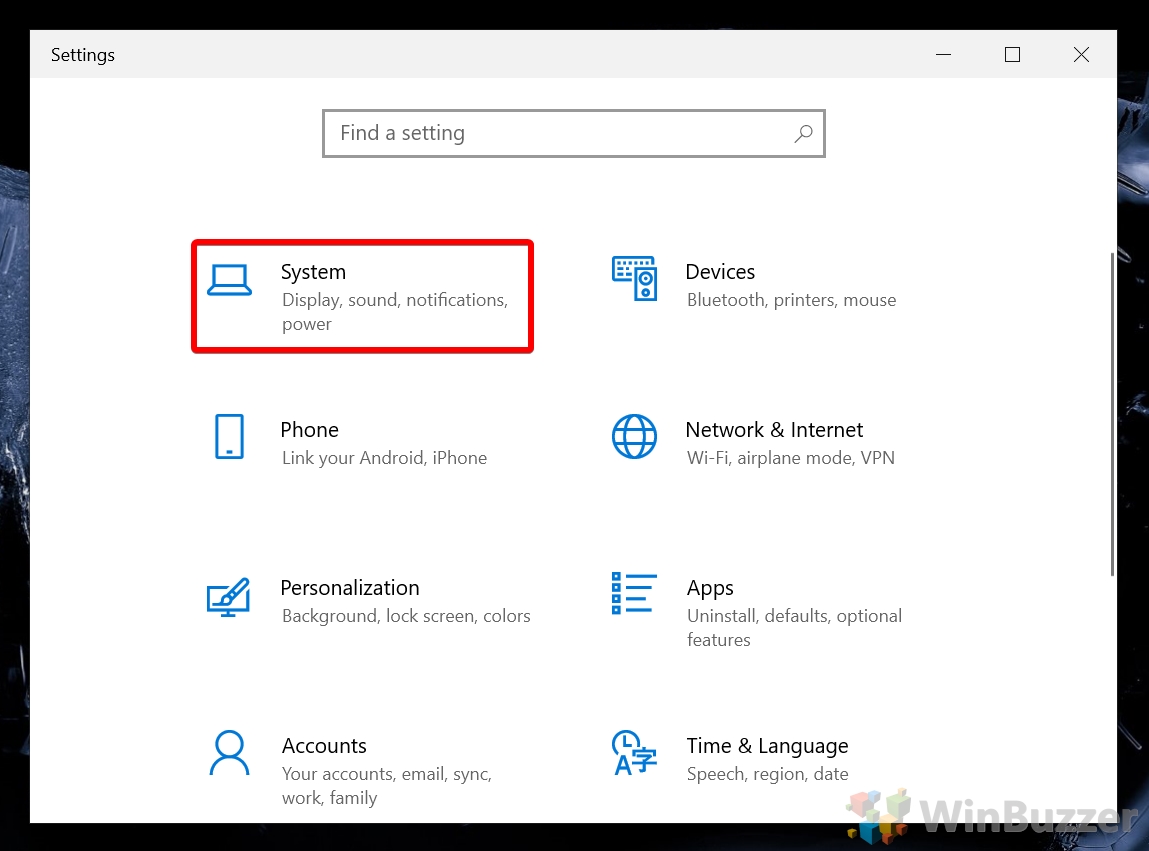
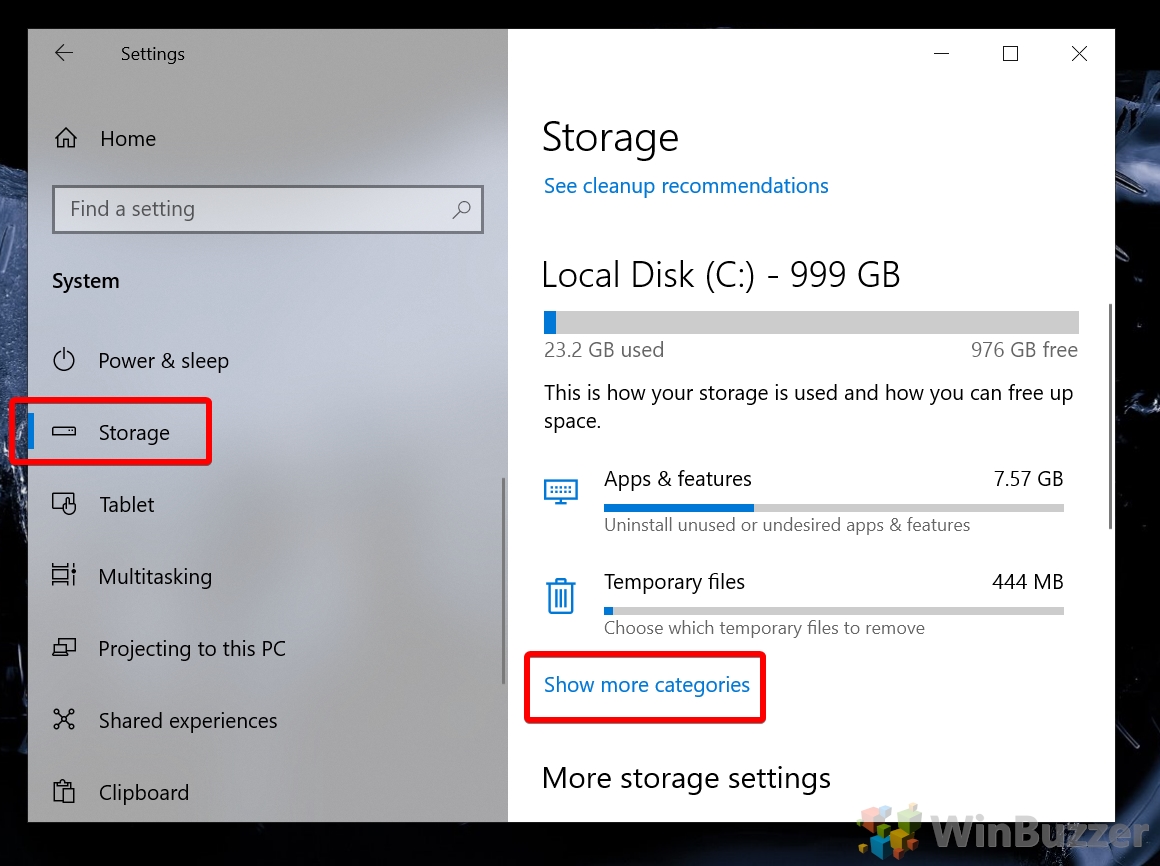
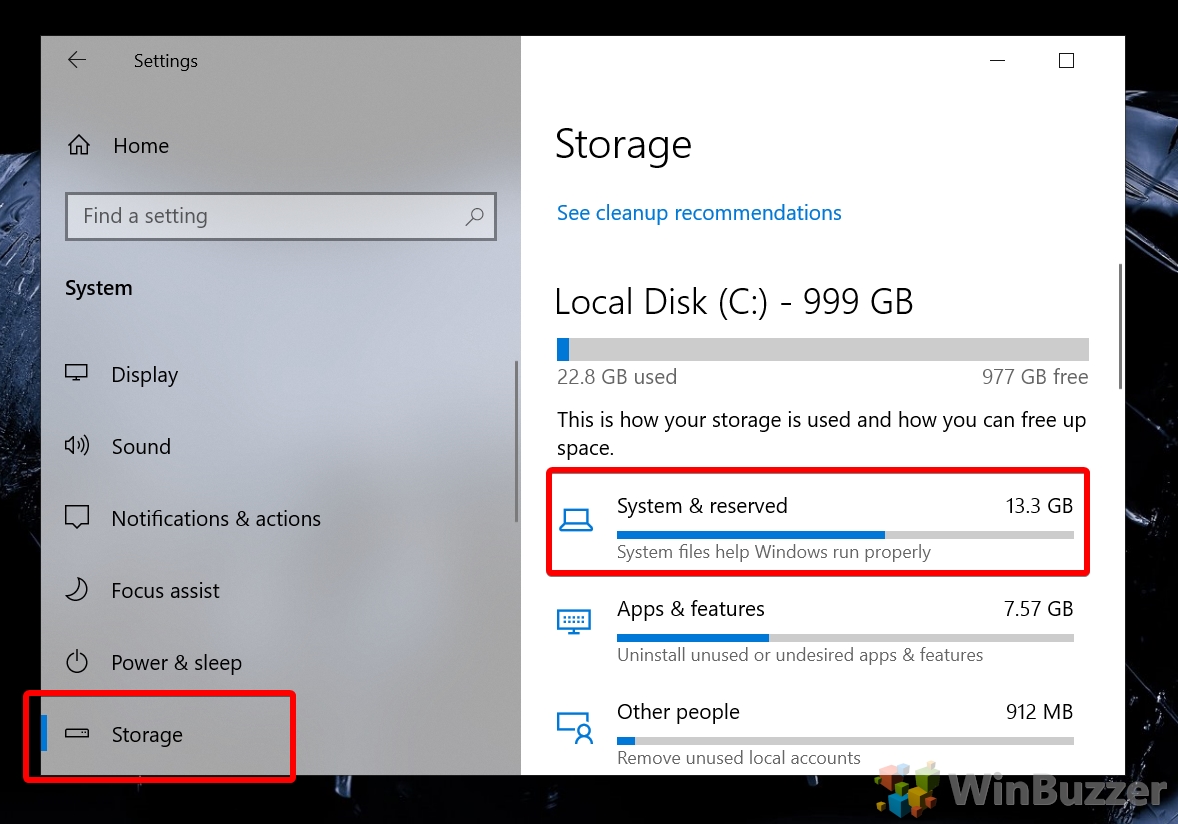
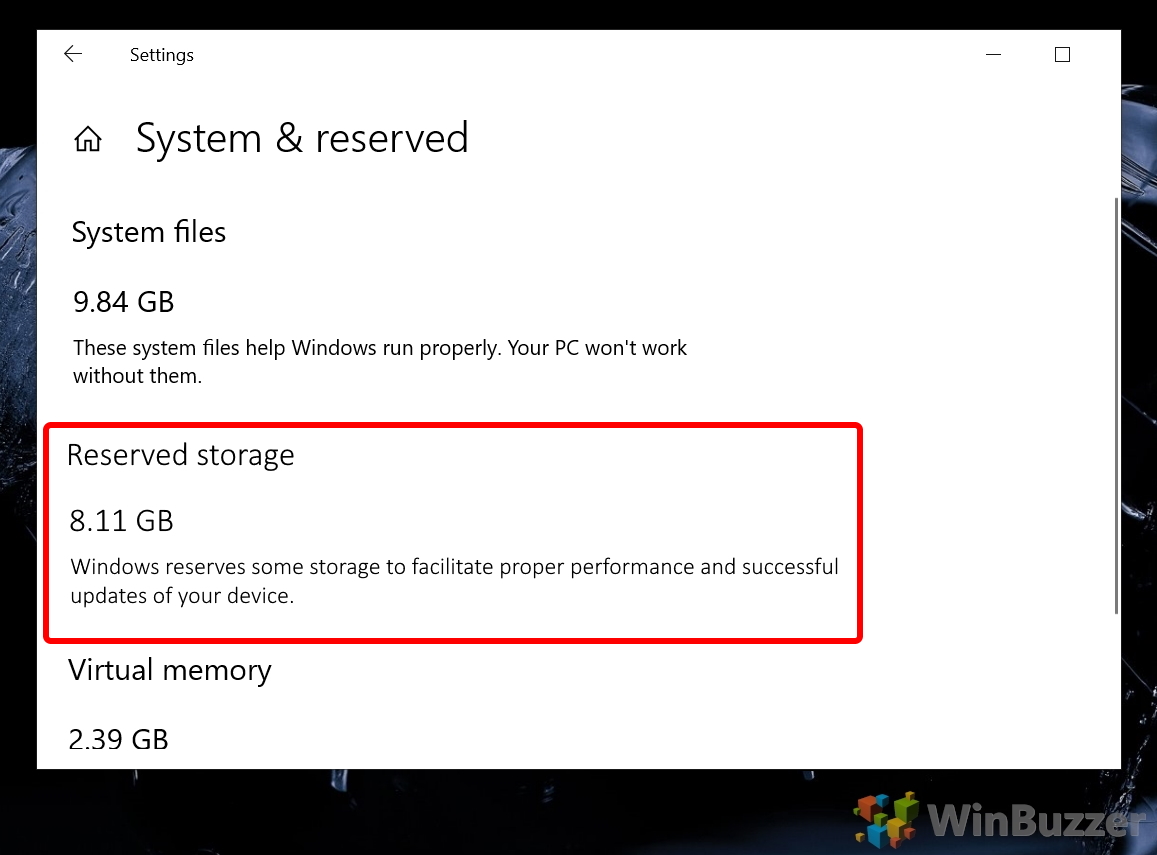
How to Check Windows 10 Reserved Storage Size via Settings
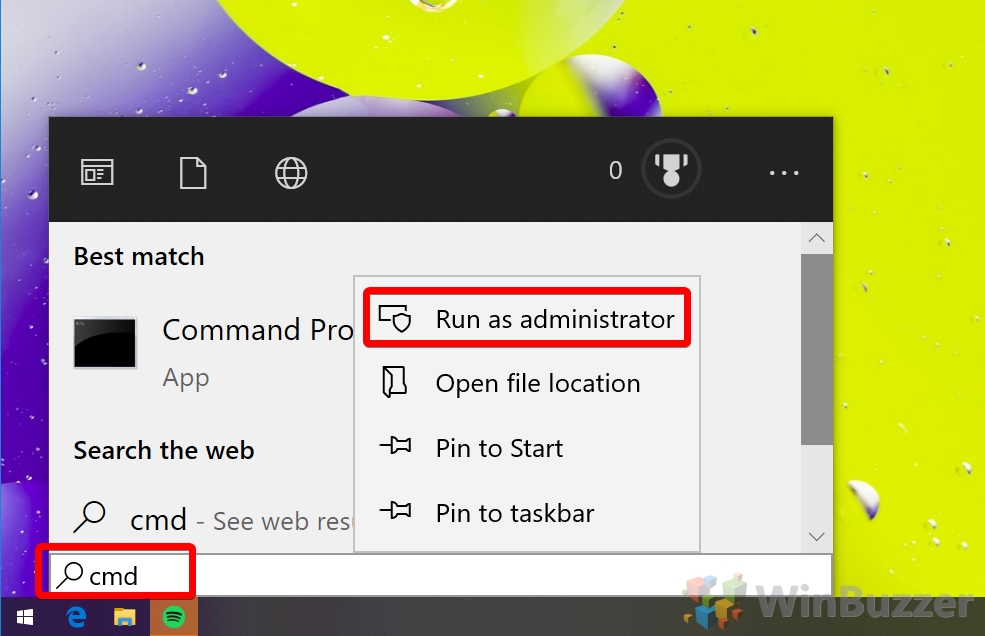
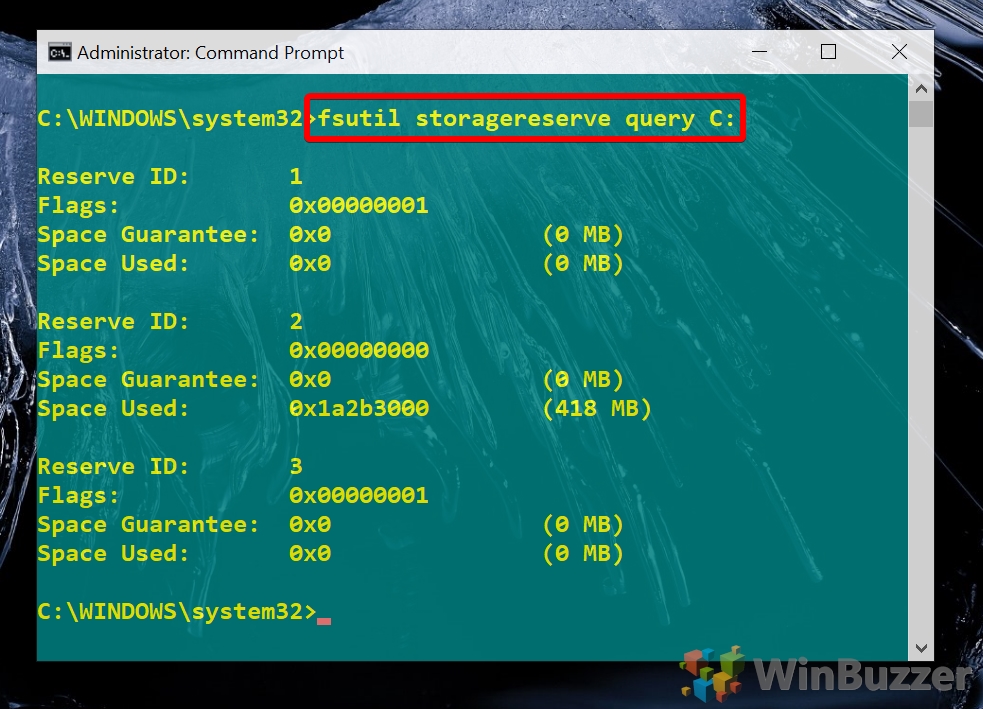
How to Check Reserved Storage Size in Windows 10 via Command Prompt
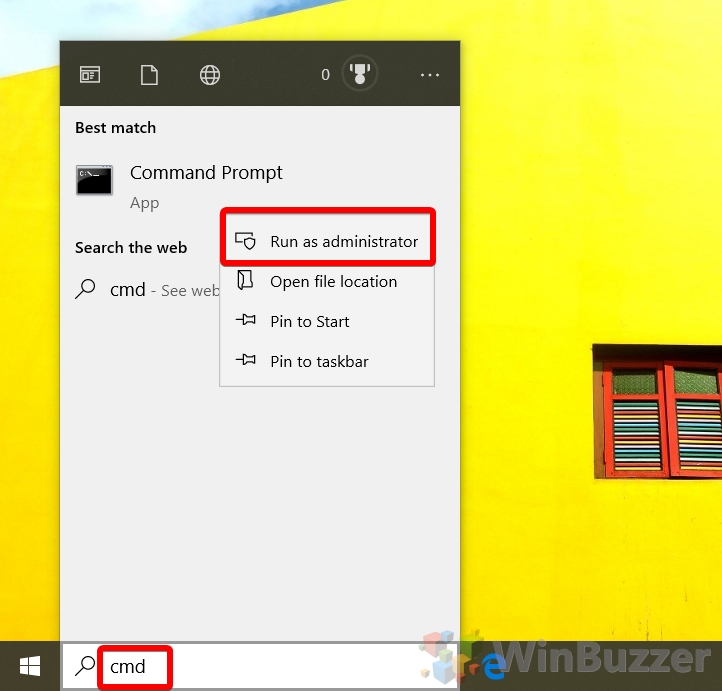
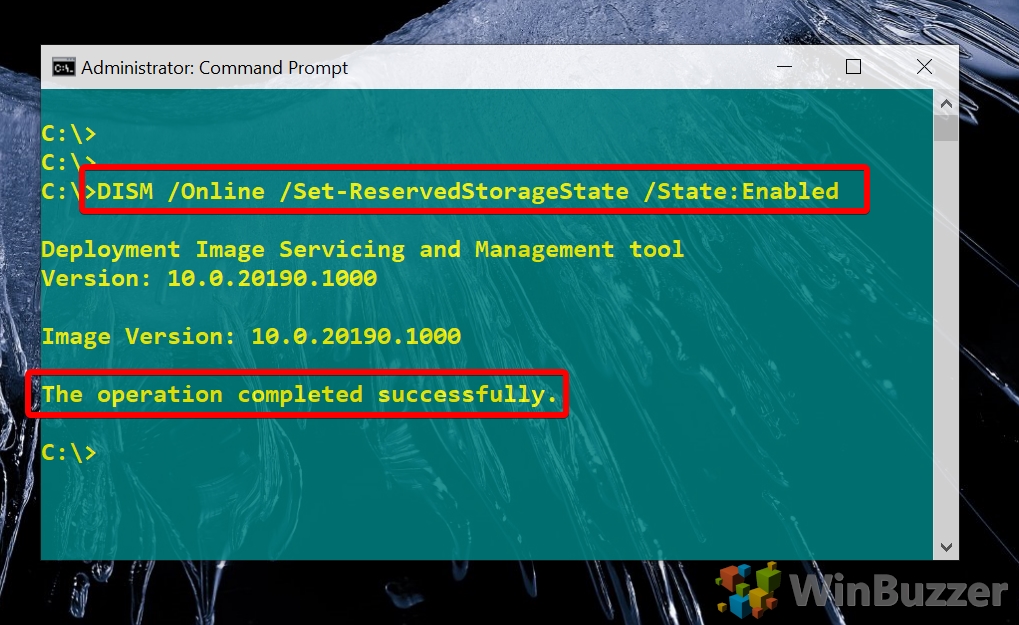
How to Check and Enable / Disable Windows 10 Reserved Storage via CMD
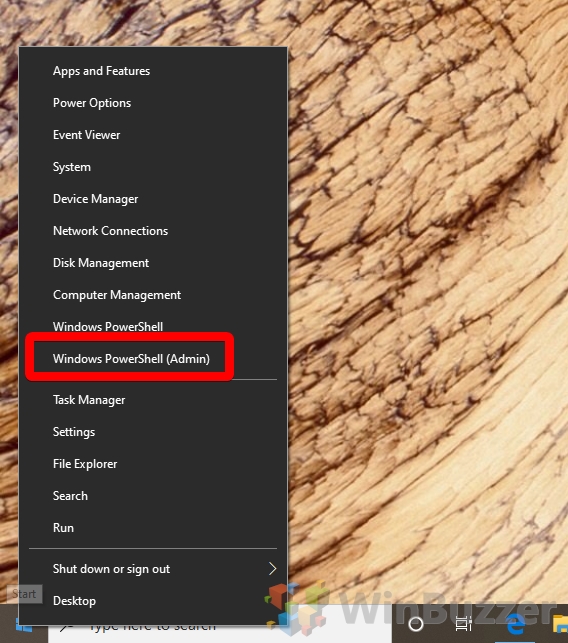
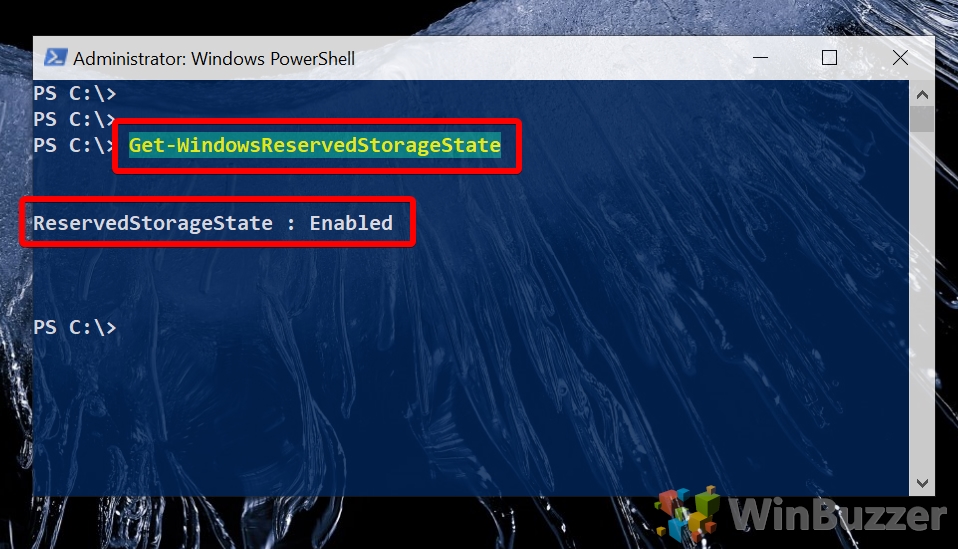
How to Check Windows 10 Reserved Storage State via PowerShell
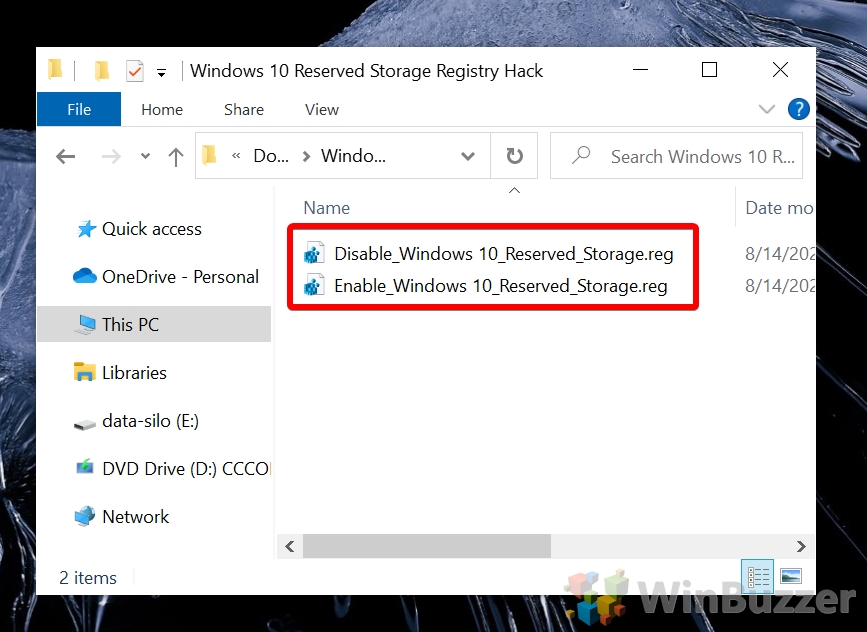
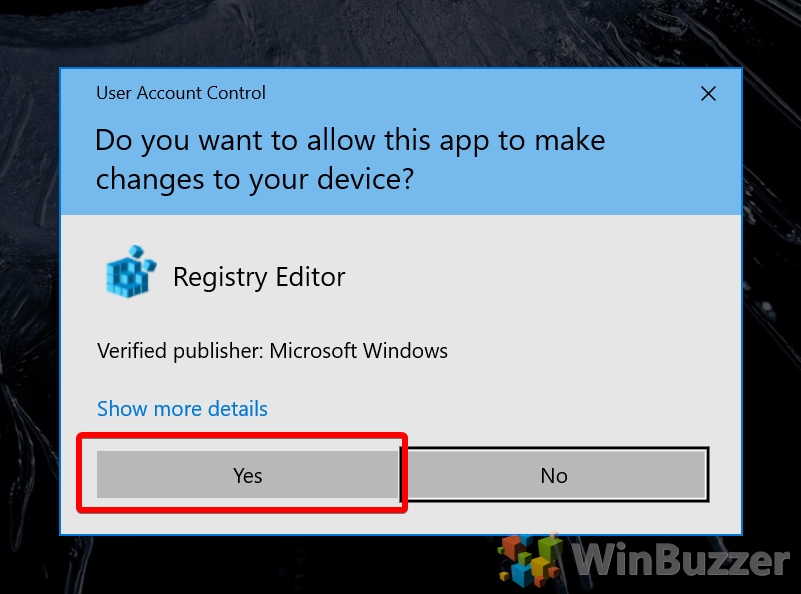
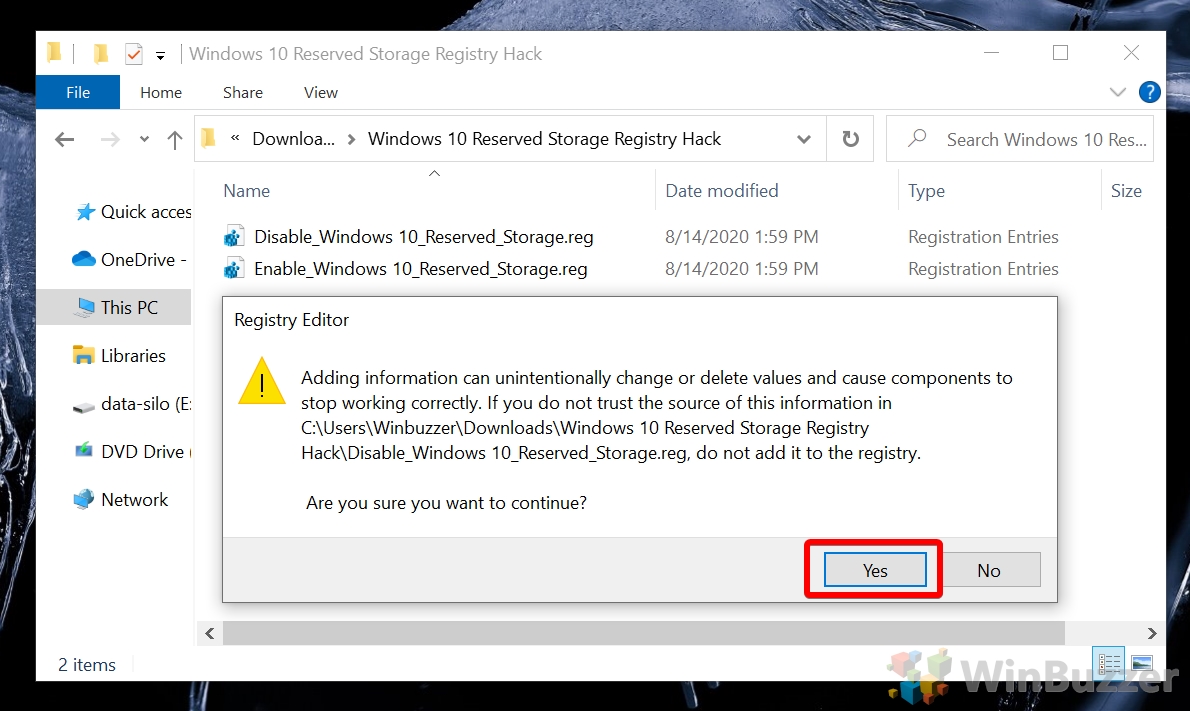
Enable or Disable Windows 10 Reserved Storage via Registry Hack
Check your status with PowerShell or CMD again to make sure the changes stuck. If you found this tutorial helpful, you may also want to check out our guide on using compactOS to free up space and cleaning up the WinSxS folder.
