1 How to Disable UAC in Windows 10 via the Control Panel2 How to Turn off Windows 10 UAC via Registry Editor3 How to Disable UAC via the Local Group Policy Editor
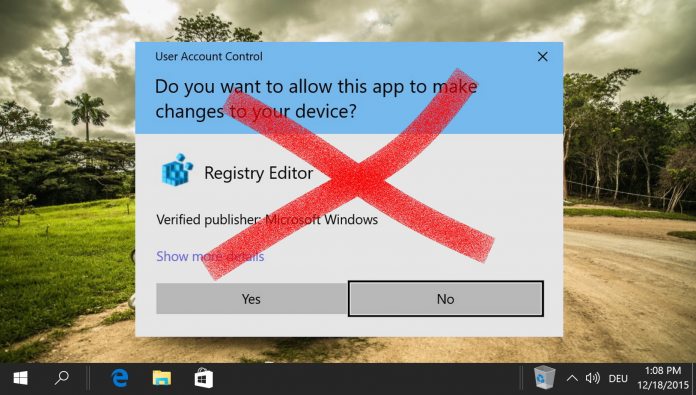
What is UAC in Windows 10? User Account Control in Windows 10 is an integral part of the OS’ security. When an app attempts to make changes to your PC, it steps in, asking for confirmation. Accepting allows the program to temporarily act with the full rights of the user: administrator rights. Without UAC, it may be trivial for malware to compromise your computer. Applications will not require your approval to make changes to your system and may make modifications without your knowledge. As a result, we can only recommend you disable UAC in specific circumstances. For example, if you have a user account with no administrative privileges and a separate admin account to perform any installation or configuration tasks. If you’re confident you’ll be secure, this guide will show you how to turn off UAC in Windows 10 via the Control Panel, Registry, or Local Group Policy Editor.
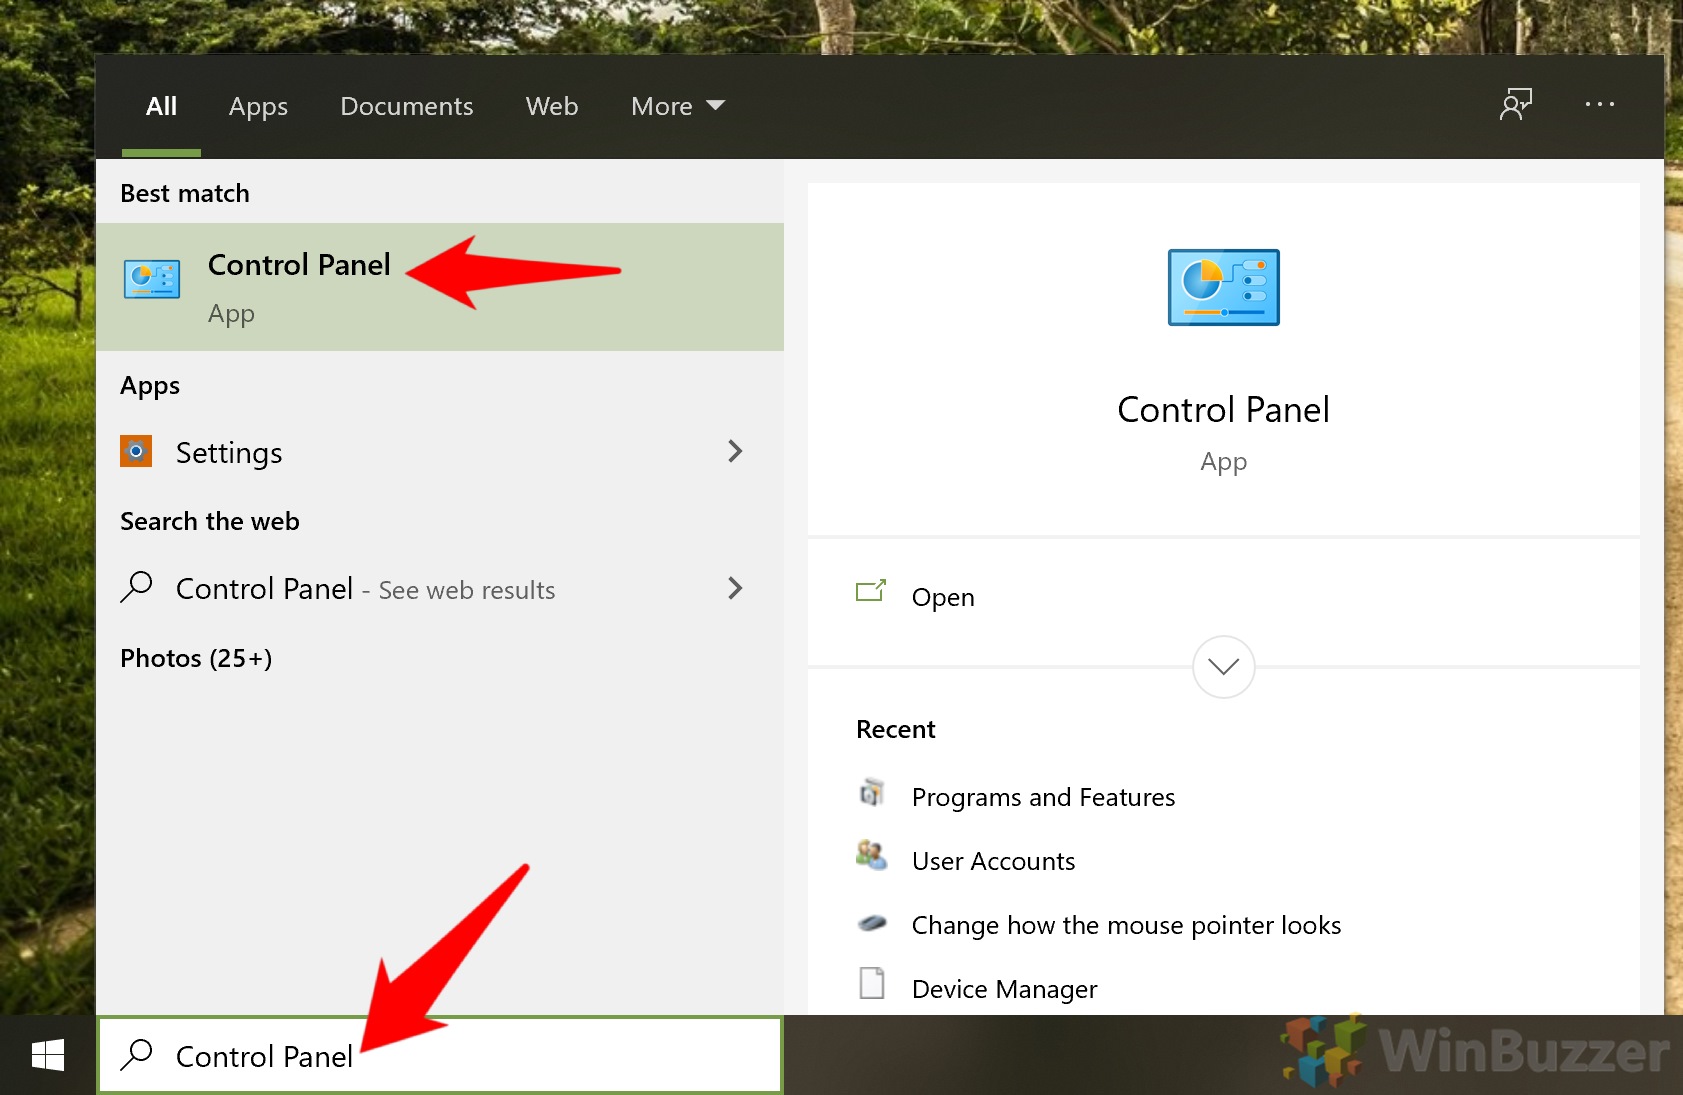
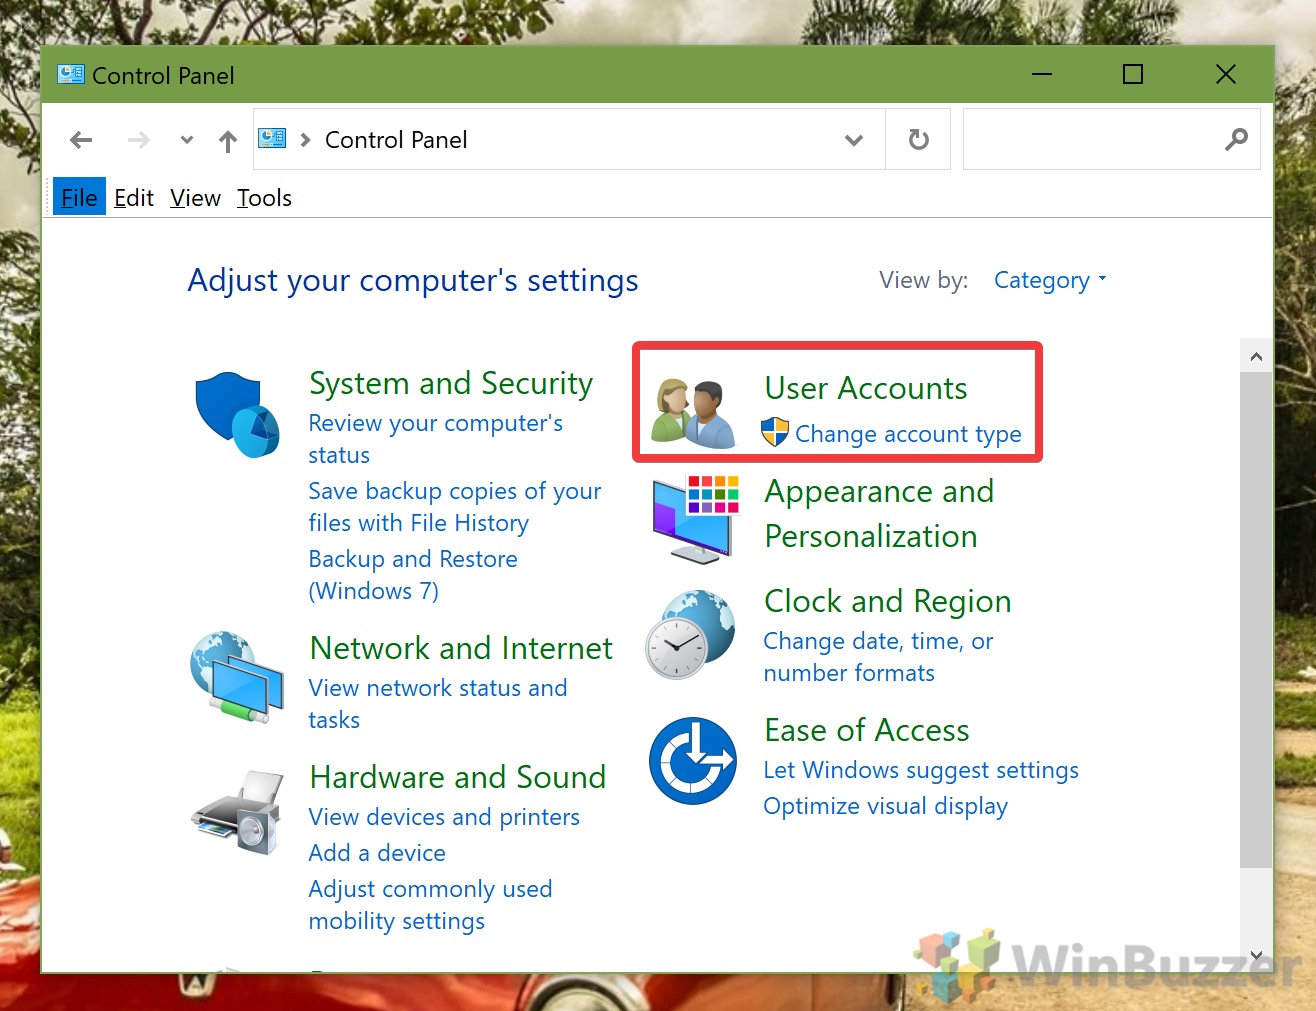
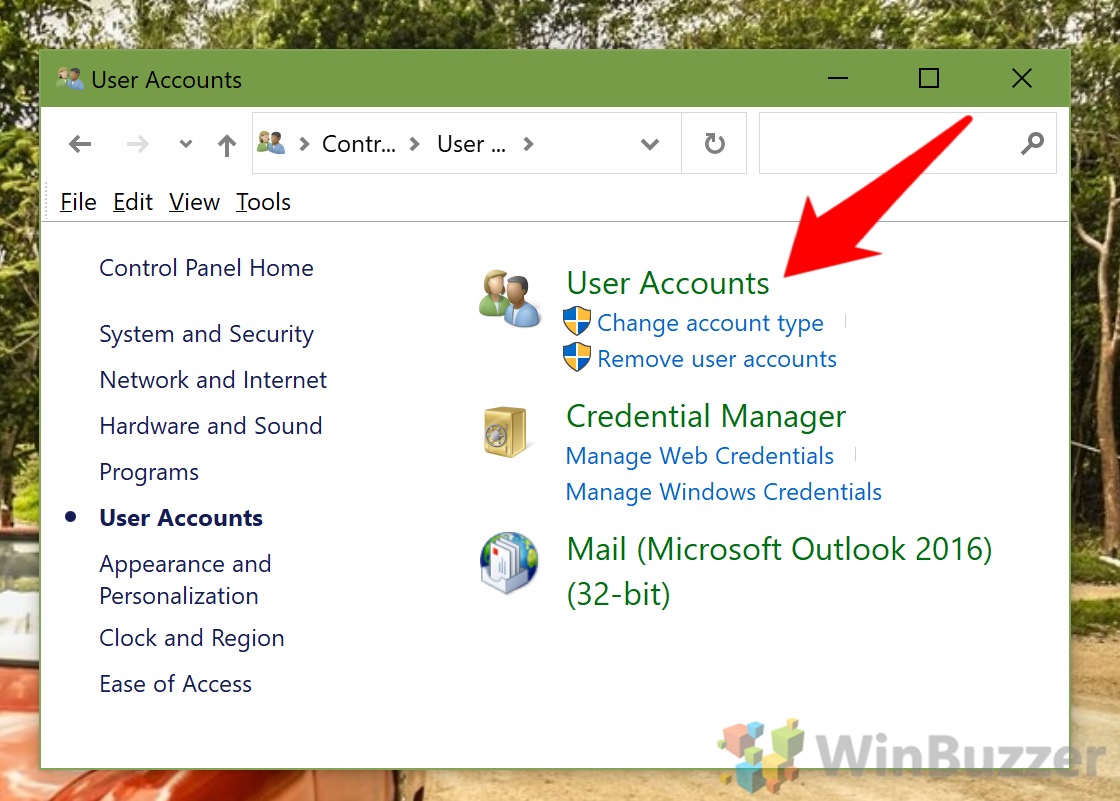
How to Disable UAC in Windows 10 via the Control Panel
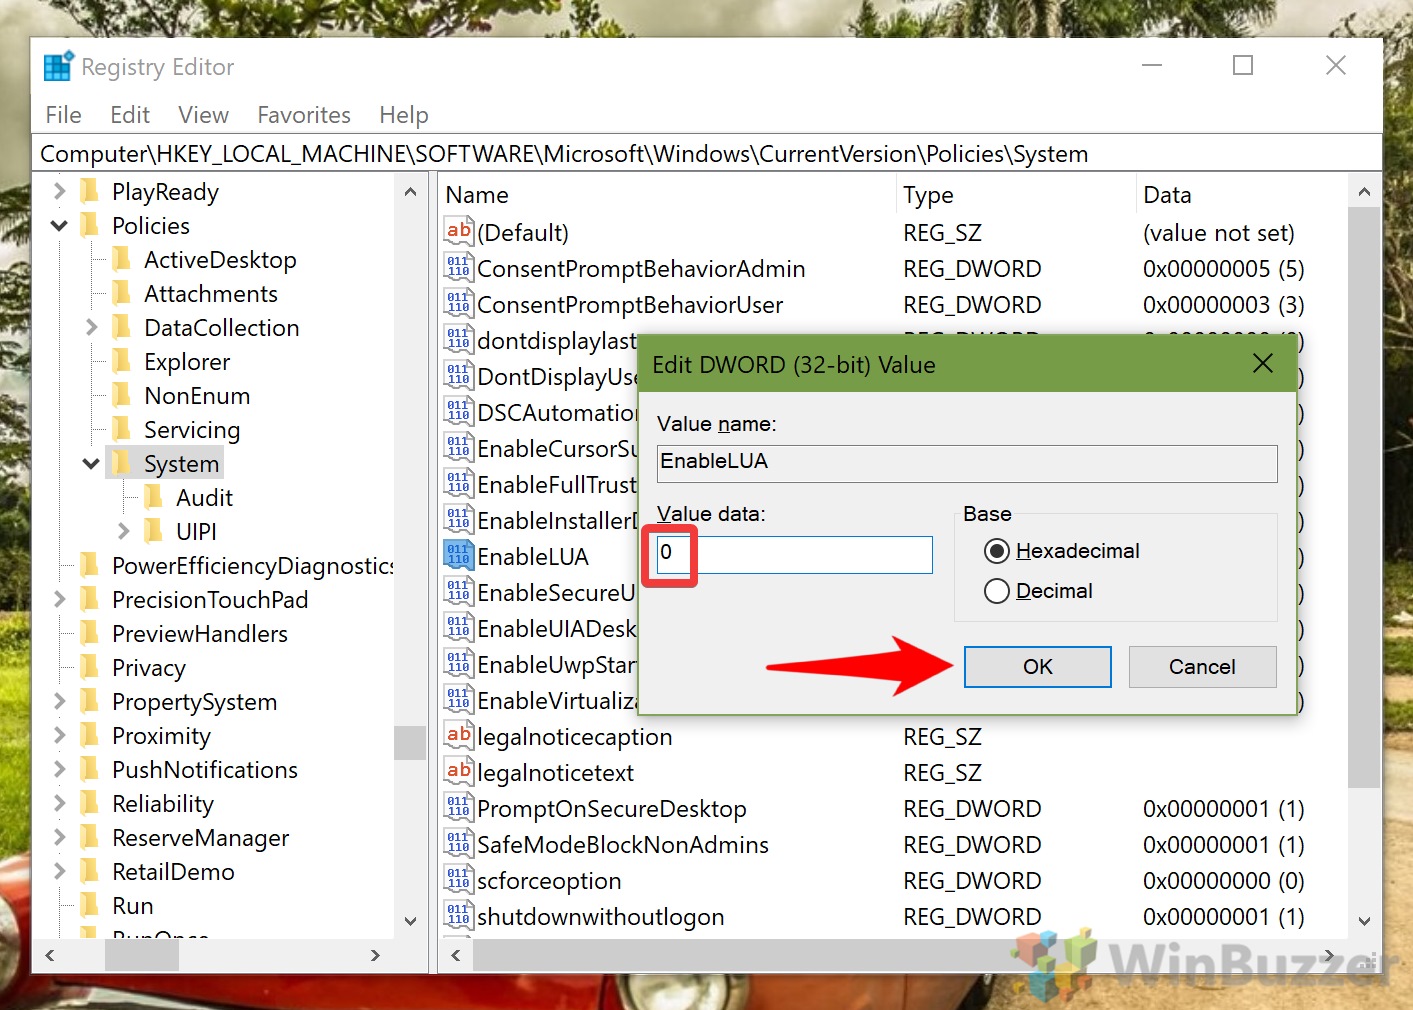
How to Turn off Windows 10 UAC via Registry Editor
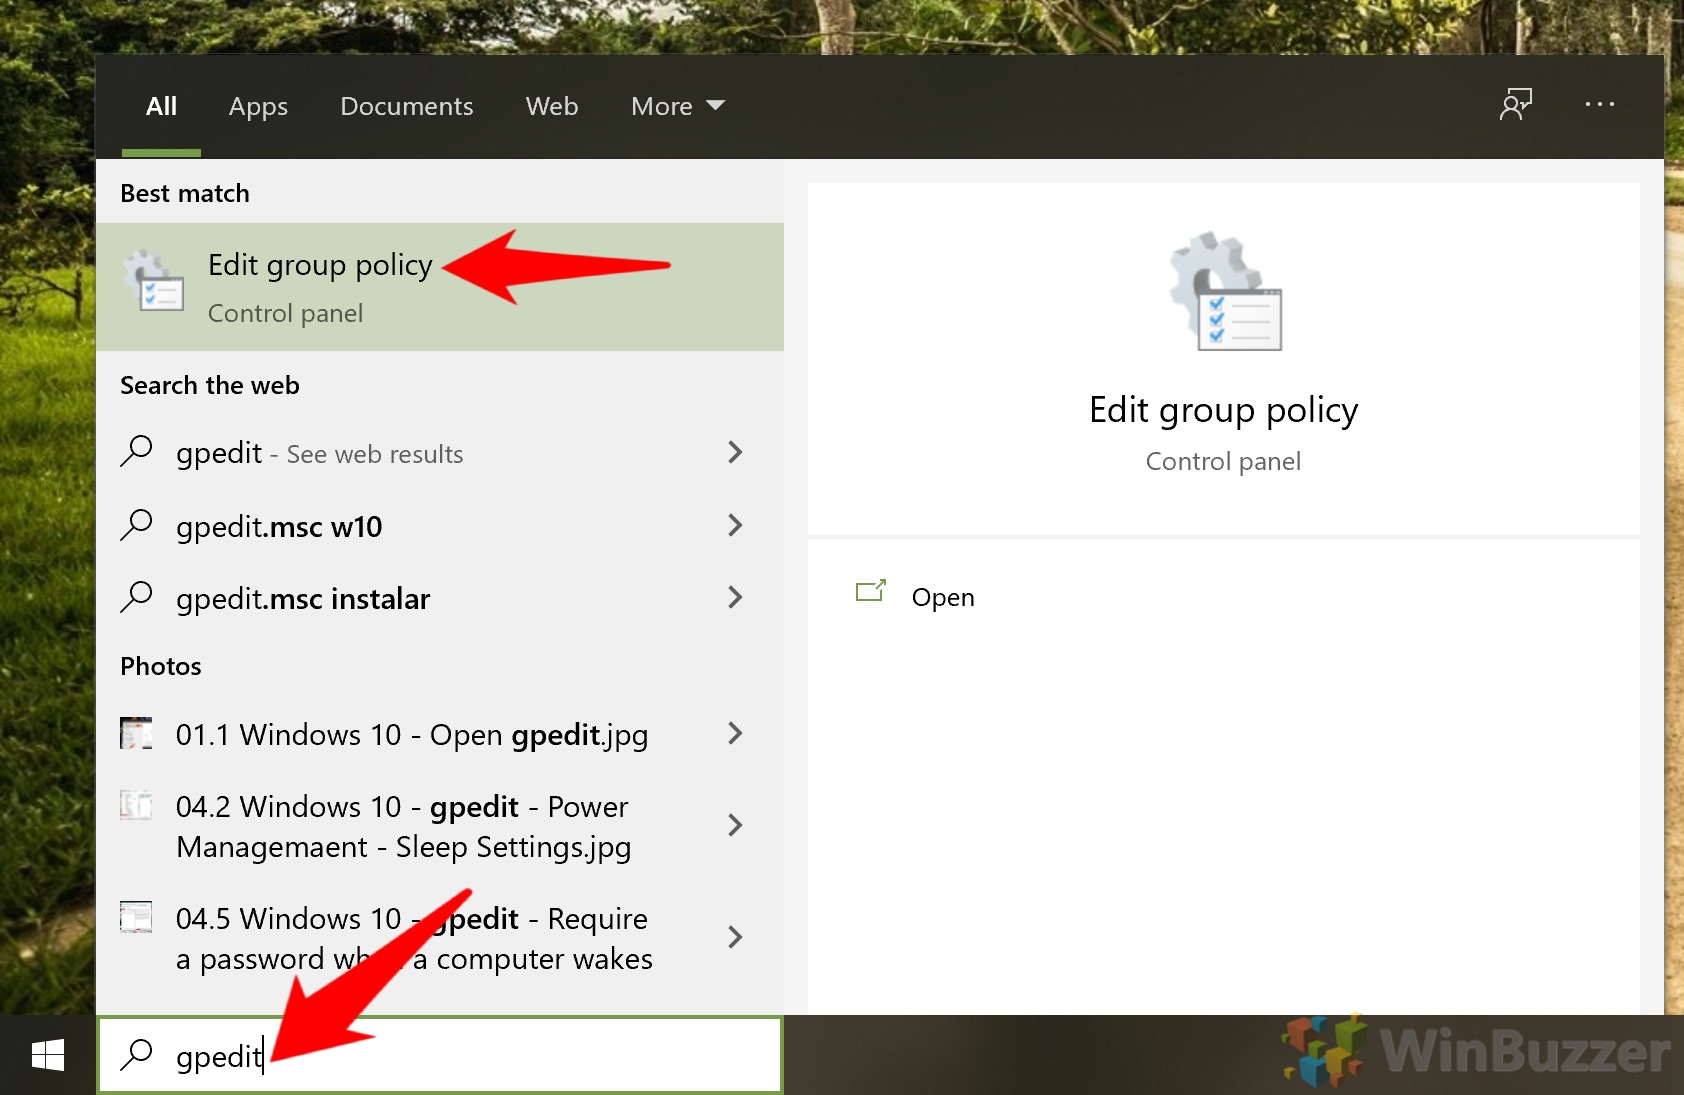
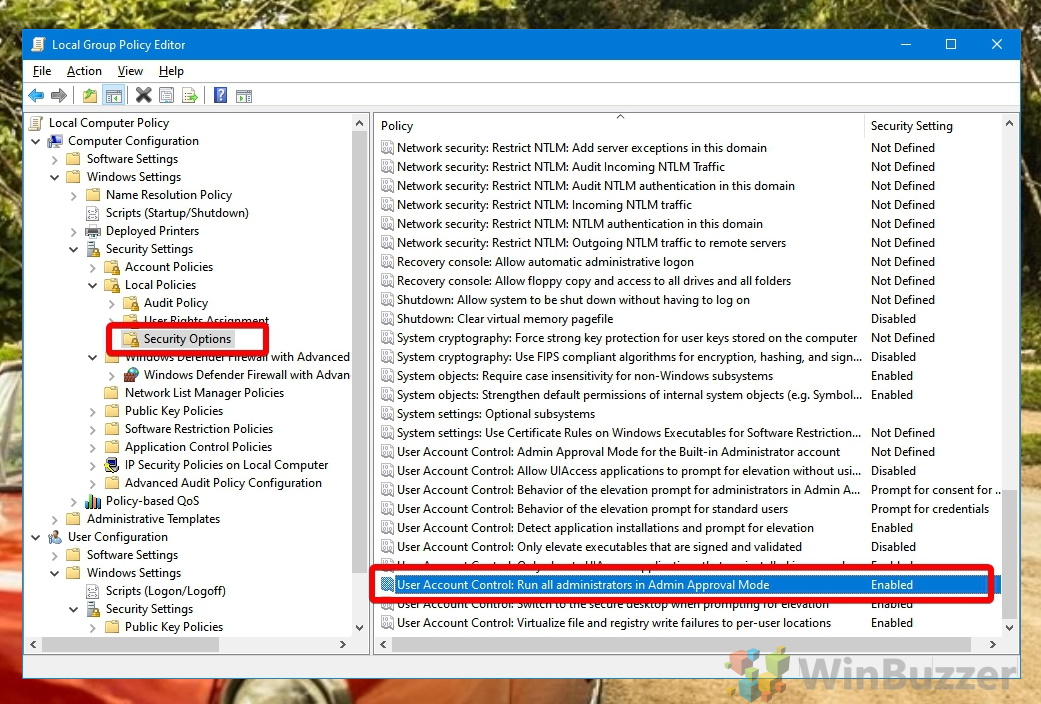
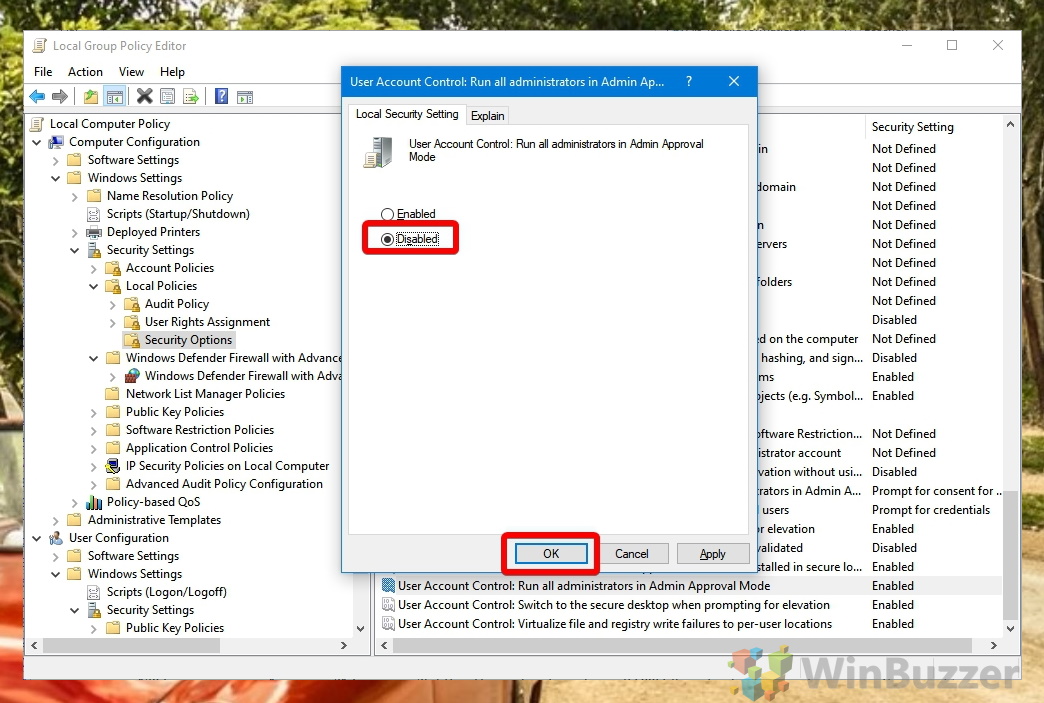
How to Disable UAC via the Local Group Policy Editor
We covered the various methods to disable UAC today, but there are other User Account Control options that you may want to consider. Here’s a full list (via Microsoft): Click “OK” and agree to your final UAC prompt. Before you make any of these changes, however, we recommend you read our existing literature on the Registry Editor. Learn how to safely use regedit and create an automatic registry backup so you’re fully prepared.
